Make a Simple but Awesome Real Life Minecraft Creeper Head!

Are your kids obsessed with Minecraft?
The Creeper Head is straightforward and great fun to make with your kids.
Find out how we did it in six easy steps!
Step one: Gather your materials
Assemble the troops
Raid the art cupboard or get yourself to the crafts store. You will require:
- A cardboard box, suitably sized to fit over your charge’s head. We used one that a toaster came in
- Dark paint (black, brown, green) and a paintbrush
- A variety of shades of green A4 paper or card (ideally 7 or 8 sheets), plus an A4 sheet of black paper or card
- A pencil, a ruler and glue stick
- An old black sock or black tights that can be chopped up
- A stapler
Step two: Measure and line your box
Before you really do anything, you need to gauge what size squares you are going to use on the box so you can plot the layout and the mouth area (which will later be the eye hole) accordingly.
Try and find a common denominator for the height, width and depth of your box. We found a suitable size to be around 5 cm (2 inches) per square; this fit in close enough to basically cover the whole thing. Then get your grid sketched out on the box in pencil.

Time to draw in your squares
You can also have a look at the photo below (or Google it) to gauge the design of the Creeper’s face. Note that we used smaller squares (by half, 2.5 cm or 1 inch) around the bottom of the mouth to make it look how it’s supposed to.

Not exactly Da Vinci but you get the idea
If your calculations aren’t totally exact, don’t worry; you will have paint underneath the squares anyway. Any gaps will look pretty natural. Creepers are weird-looking things at the best of times.
Step three: Cutting and painting
First things first, to avoid having your charge run headfirst into walls with his cardboard helmet on (assuming that wasn’t your plan the whole time), you’ll need some eye holes in your box. Cut out the bits you don’t need in your grid according to the design below, and then paint the entire outside of the box in a dark colour of your choice.

We found dark green worked well, but black or brown would be fine too.
Step four: Cut your coloured paper and stick it on
This bit is pretty boring, so unless your charges have an affinity for cutting out endless 5 cm x 5 cm green quadrilaterals, you may want to prop them up in front of Shrek 2. Draw on and chop out a million squares and glue them onto your box in as random a pattern as you can come up with.

Remember black squares to go over the mouth/eye part—what even is that?—and don’t worry about the kids’ empty eye hole—we're coming to that now.
Step five: Finishing touches
Once everything is dry, you can tidy up any outstanding bits of paint you’ve missed, glue down curling corners, and sacrifice an old sock (or pair of tights) in the name of art by chopping it to a suitable size and stapling it over the eye hole from the inside (helps if you can dislocate the stapler arm!). Be sure to sand or band down any metal parts sticking out from the staples.
Step six: Get scary!
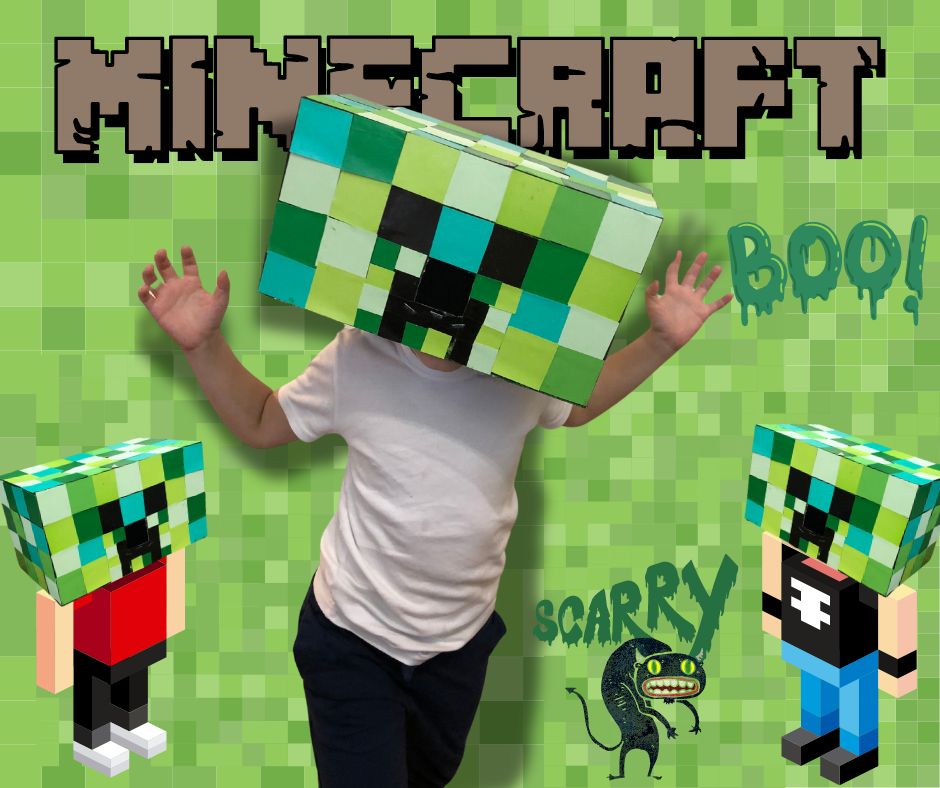
Hooray! It’s finally time for your charge to terrify his grandmother! Now take some photos, apologise to his mum, and be thankful that your arts and crafts activity for the day is officially complete.
Zing!
Footnote: Things you could do differently (aka: better than we did):
- The paint. Make sure it’s not too washable, or it ends up going everywhere when you touch it or when it comes into contact with glue. We had to go and wash our hands and then come back again a zillion times, and we ended up with green paint literally everywhere. Test the paint on some paper first and see if it dries well.
- Use paper (not cardboard) for your squares. Paper just sticks down a lot more easily. Simples.
- Print out a design to save time. You can find various ‘Creeper’ designs online (give this one a shot) that you could just print out. Not as much fun, but it will save you from getting blisters from the nonstop cutting and sticking.
- Put something inside your box to hold it in a good ‘head position’. We ended up trying to scotch tape a car cleaning sponge to the inside. It worked pretty well, actually.
Be sure to try out another one of our fun arts and crafts activities!
Enjoy and happy crafting!!!